The term 'node' in Cloudhouse Guardian (Guardian) is used to represent any scannable object in your environment. Anything with an IP address or a single cloud entity can be added to your environment as a node. You can set up node groups, policies, and benchmarks to monitor the configurations of your nodes and ensure that they are compliant with the specific parameters you have set. A node can be assigned one of two statuses: detected or monitored. Depending on the node's status, it is stored within the corresponding tab of your Guardian instance's Inventory and the functionality attributed to that node varies. The following topic provides an overview of the functional differences and purposes of a detected and monitored node.
Detected and Monitored Nodes
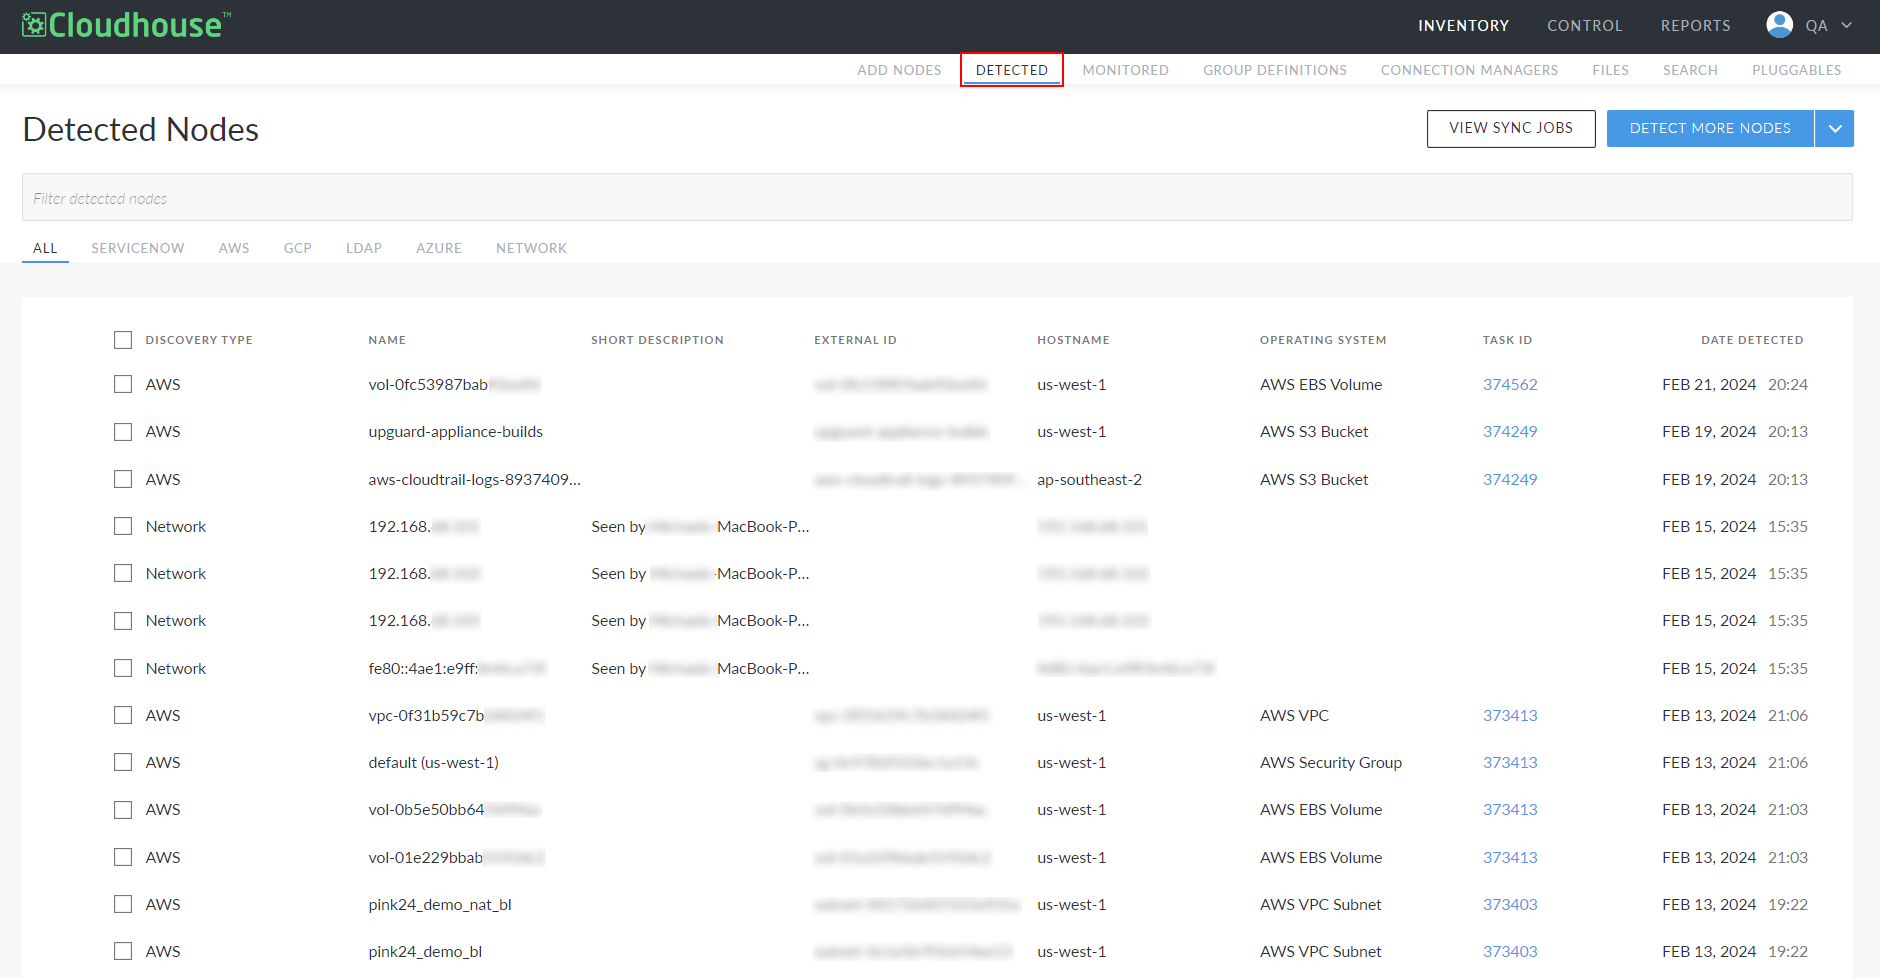
All nodes are stored within either the Detected or Monitored tab (Inventory > Detected/Monitored). Detected nodes have been detected by your Guardian appliance either due to an integration sync, bulk add process, or from an automated node discovery of the network. Whereas monitored nodes have been either been promoted from the Detected tab or automatically assigned to the Monitored tab during an integration sync or bulk add process. The functionality attributed to detected nodes is limited, as a node must be promoted to the Monitored tab in order to be scanned, monitored, and managed. See the table below for more information on the functional differences between a detected and monitored node.
| Function | Detected | Monitored |
|---|---|---|
| Can be scanned | No |
Yes, either by clicking the Scan button in the Monitored tab, or according to a schedule. See Job Schedule for more information. |
| Can be assigned policies and benchmarks | No | Yes. See Policies and Benchmarks for more information. |
| Can be assigned an environment | No |
Yes, monitored nodes can be assigned to one environment at a time. By default, when a node's status is updated to monitored, it is assigned to the Default environment. However, you can change the environment of a monitored node at any time. See Monitored Nodes for more information. |
| Can be assigned to a node group | No | Yes, monitored nodes can be assigned to multiple node groups. There is no limit to the number of node groups a node can be added to. However, this is an optional feature. See Node Groups for more information. |
| Status can be updated | Yes, a detected node's status can be updated to monitored. | No, once a node's status has been updated to monitored, it cannot be changed to detected. |
| Counts towards node license count | No | Yes, monitored nodes count towards the number of nodes allocated by your license. |
Detected Nodes
All detected nodes are stored within the Detected tab of your Guardian instance's Inventory. You can use the Detected tab as a staging area; one location for all of the possible nodes you could be scanning, separate from the nodes that are already being monitored.
A node can be detected as a result of various actions, such as:
- An integration sync – You can integrate Guardian with a range of external sources, such as AWS, to enable the automatic detection of nodes within that source. By default, any nodes that are detected are automatically added to the Detected tab of your Guardian instance. Once an integration has been set, it will automatically sync every two hours, checking for changes to your assets. For more information on how to set up an integration, see Integrations. Alternatively, you click Detect More Nodes to sync temporarily to a source of choice.
- Adding nodes in bulk – You can automatically sync and detect nodes from a range of external sources, such as ServiceNow, in order to add nodes in bulk to your Guardian instance. By default, any nodes that are detected are automatically added to the Detected tab. Adding nodes in bulk does not sync any subsequent changes as, typically, this is a one-time import. However, there are additional options for customization, depending on the source. For more information on how to add nodes in bulk, see Add Nodes in Bulk.
- Node Network Discovery – This is an optional feature in Guardian that enables the automatic detection of nodes that are network adjacent to existing monitored nodes. Any nodes that are detected are automatically added to the Detected tab.
Note: To enable this feature, contact your Cloudhouse Representative.
-
Typically, you can choose whether to delete, ignore, or add a detected node to your monitored list. If you choose the latter option, the node's status is updated to monitored, and it is transferred to the Monitored tab. However, when adding a node to your monitored list, the node's settings must be configured correctly. Otherwise, it will be unable to be scanned. See Detected Nodes for more information. And for more information on the available scanning options, see Agent-Based or Agentless?
Monitored Nodes
All monitored nodes are stored within the Monitored tab of your Guardian instance's Inventory. When a node is added to the Monitored tab, you are effectively consenting to the regular scanning of that node within Guardian. This enables any changes that occur to your node(s) to be tracked and monitored, enabling the effective troubleshooting of your node over time.

A node can be added to the monitored tab as a result of various actions, such as:
-
Manually – In the Detected tab, you can manually add a detected node to the Monitored tab. To do so, you must ensure that the node's configuration settings are applied correctly. Then, you can assign it to an environment and node group for regular scanning and monitoring. For more information, see Detected Nodes.
- Integration Sync – You can integrate Guardian with a range of external sources, such as AWS, to enable the automatic detection of nodes within that source. By default, any nodes that are detected are added to the Detected tab. However, if you select the Automatically start monitoring and scanning newly detected nodes checkbox when creating the integration, those nodes are added to the Monitored tab instead. For more information, see Integrations.
- Add Nodes in Bulk via CSV – You can import nodes in bulk to Guardian by populating a CSV file with the information required to retrieve the nodes. This process automatically adds the nodes contained in the CSV file to the Monitored tab. For more information, see Add Nodes in Bulk via CSV.
- Add Nodes in Bulk – You can automatically sync and detect nodes from a range of external sources, such as ServiceNow, in order to add nodes in bulk to your Guardian instance. By default, any nodes that are detected are added to the Detected tab. However, if you select the Automatically start monitoring and scanning newly detected nodes checkbox when creating the temporary integration to the source, those nodes are added to the Monitored tab instead. For more information, see Add Nodes in Bulk.
Note: If the Automatically start monitoring and scanning detected nodes option is not selected, the detected nodes are added to the Detected tab instead.
By default, all monitored nodes are added to the 'All Nodes' node group. However, you can organize your monitored nodes into one or more node groups for more effective scanning and configuration. For example, you could schedule regular scans for a particular node group, assign policies to the node group, and run benchmarks against the node group to evaluate whether the nodes are compliant with a specific set of parameters. Monitored nodes have the greatest level of control and are the nodes that you will interact with most in Guardian. Typically, when referring to a node in Guardian, this denotes a monitored node. For more information on monitored nodes, see Monitored Nodes.